Woodworking as a hobby is a nice compliment to web development. I find the tacile nature of woodworking refreshing after working with conceptual and abstract thinking while programming for a living. Nothing like working with something real.
This past winter I created some end-grain cutting boards from unmilled, rough lumber as an experiment and learning experience. I am in no way an expert woodworker – far from it – but thought others that are interested in the hobby would find my experience a bit educational.

The walnut used in these cutting boards came from an old barn in my area. The remainder of the wood came from the lumber yards offcuts and sub-standard pile. Cheap, good, sometimes free wood is accessible if you seek it out.
When I start to investigate a new technology (recently ReactJS) it helps to also make something bite-sized and simple. If I read countless articles and tutorials, I might be aware of the new technology but truly don’t understand it. Making something small and bite-sized really helps me pick up a new set of skills and put them to use quickly.
The same holds true for woodworking. By creating small, bite-sized projects I am able to put skills to learn by doing. I could spend all the time in the world reading and watching YouTube videos on woodworking. However, none of these new skills stick until I’ve done them myself.
Building an end-grain cutting board is fairly straight forward and takes some patience and persistance. No matter the cutting board design, you can construct an end-grain cutting board by…
You can get pretty crazy with planning out designs and making use of clever cutting tricks. I decided to keep it simple and straight forward as I don’t have the most apt carpentry skills (yet?).
I decided to create end-grain cutting boards due to the focus on basic woodworking skills. The boards have no ornamentation and their construction is pretty straight forward. This type of project allows me to focus on basic, fundamental skills; the first of which would be squaring up wood.
I chose to work with walnut, purpleheart (sparingly), cherry, and hard maple. This was mainly dictated by my local lumber mill’s pricing.
You could do some looking around on online listings too (Kijiji for example). If you have a planer, you can make a lot of old wood new again by taking off just a small amount of surface. Often this type of wood is free and all it takes is an extra step of preparing your lumber.
Side note: Stay away from palletes or pressure treated wood. Never use pressure treated or lead painted material for anything food will be touching.
When planning out your cutting board, you will want to do some research on what woods work best. Hard woods last a long time but also dull your knives very quickly. Finding a nice balance can be tricky but I highly recommend these few links on this topic.
All the lumber used in my cutting boards were bought roughly milled (not squared or finished, living edge on most boards). The exception to this was the small amount of purpleheart. This I picked up (squared and ready to go) while visiting Exotic Woods in Burlington, Ontario. If you’re passing through it’s definetly worth the small detour from the 401.
The first step as getting all the boards to the same thickness. I achieved this using a thickness planer and a tablesaw. I setup the my planer to be used as a jointer; see this educational (albeit dry) video from American Woexplaining how to do this in detail.
If you don’t have a thickness planer (or access to one), I highly reccomend Izzy Swan’s YouTube channel. He is a God Amongst Men when working with a table saw. In particular, I found his video on using your table saw as a jointer/planer very useful.
Be sure to take your time and ensure that your boards are square, you’ll be glad you did for the remainder of the project.
Once you have all your boards square and approximately the same thickness it is time to cut various strips for your end-grain design. Most people like to cut uniform, checkerboard patterns (done by cutting all your wood to the same width and alternating the kinds of wood). Personally, I like the look of non-uniform blocks in a checkerboard pattern.
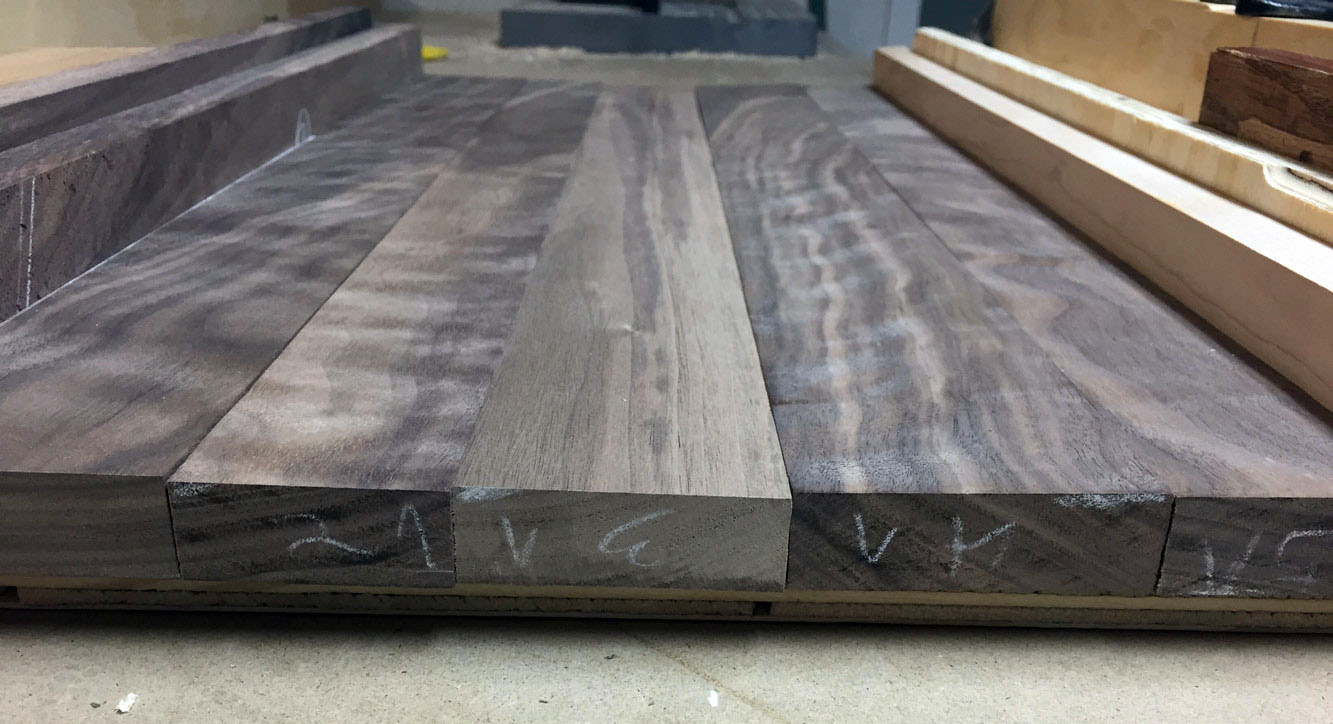
If you are cutting all the pieces to the same width, I’d encourage you to setup your table saw fence and cut them all at once (without moving the fence) to ensure they all have the exact same cut. As well, most end-grain patterns work well if you have an odd amount of strips (not always but usually).
Most woodworkers use bar clamps for this type of glue-up. I don’t have bar clamps and wasn’t ready to invest in a set quite yet. I developed a clamping contraption that would apply uniform pressure to longer strips of boards being glued together. (It is more or less a set of bolts, threaded through some nuts that are inset into a heftier piece of scrap wood.
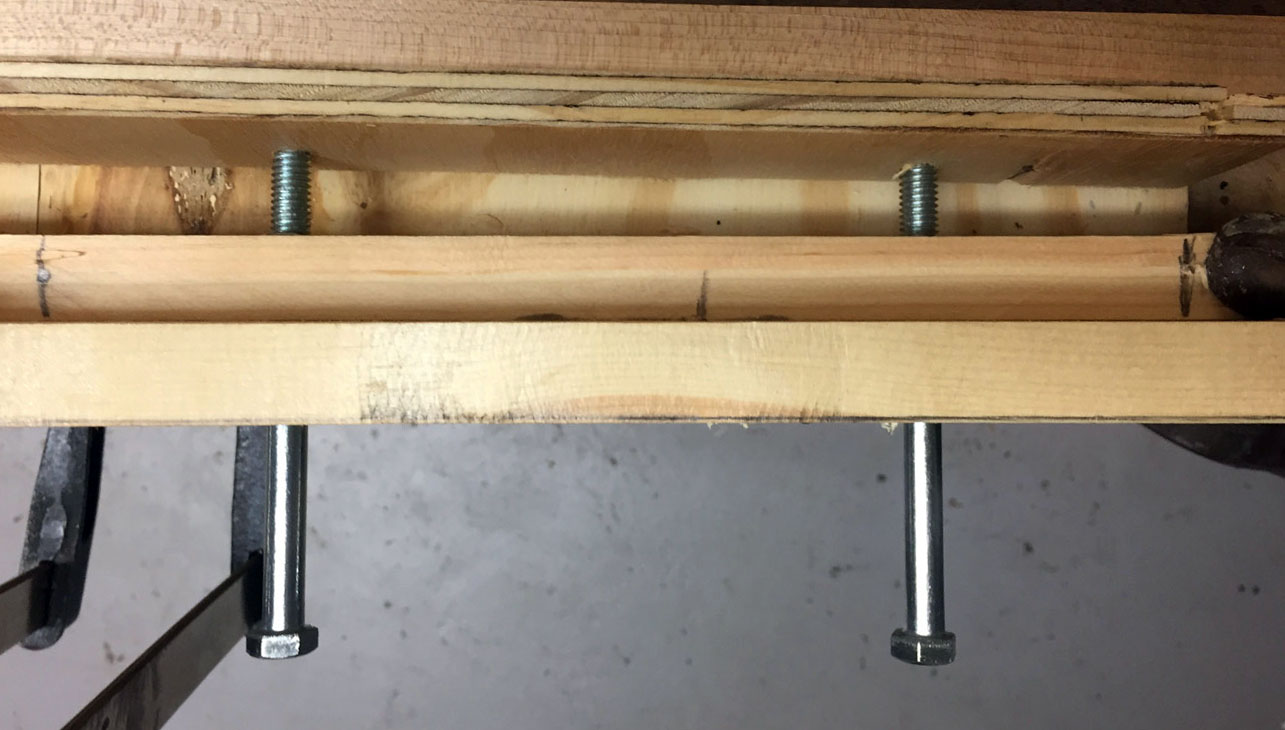
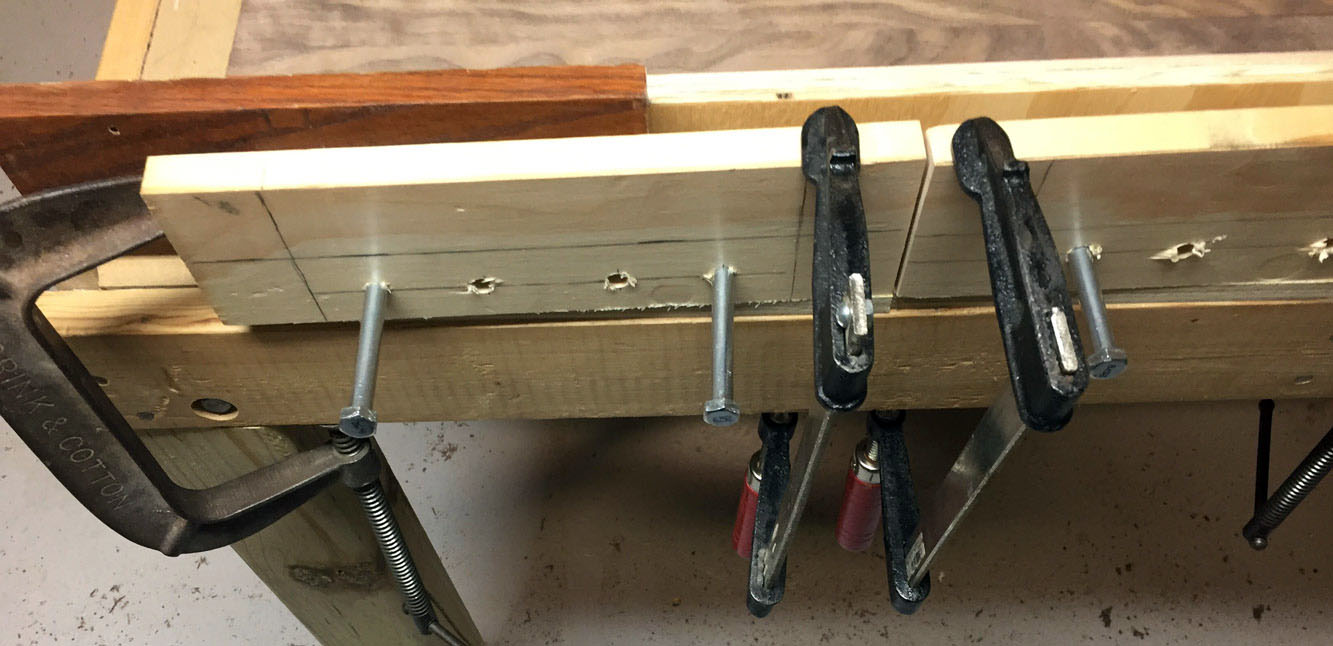
When gluing the pieces of wood together, use either a paint brush or paint roller for the glue. This ensures all corners of the wood receive an even amount of glue. When applying pressure from bar clamps (or contraptions), squeeze the pieces of wood together until you get some glue squeezed out of the joints. Clean up is straightforward while the glue is wet with a damp cloth/rag.
Please be sure to use a safe glue. What the hell does that mean?! Well, you are going to be using the finished product for food preparation. Using materials that are safe is paramount for a project like this – what good is a cutting board that contains toxic materials. Look for water-resistant glue that is safe for human injestion. A go-to for cutting boards is Titebond Type II wood glue (easy to find if you’re American, or on Amazon if you are out of country).
Great, you’ve glued-up and create these massive wood boards. At this point, you will need to even out the boards thickness again. This is due to the boards becoming misaligned while gluing and from any glue squeeze out.
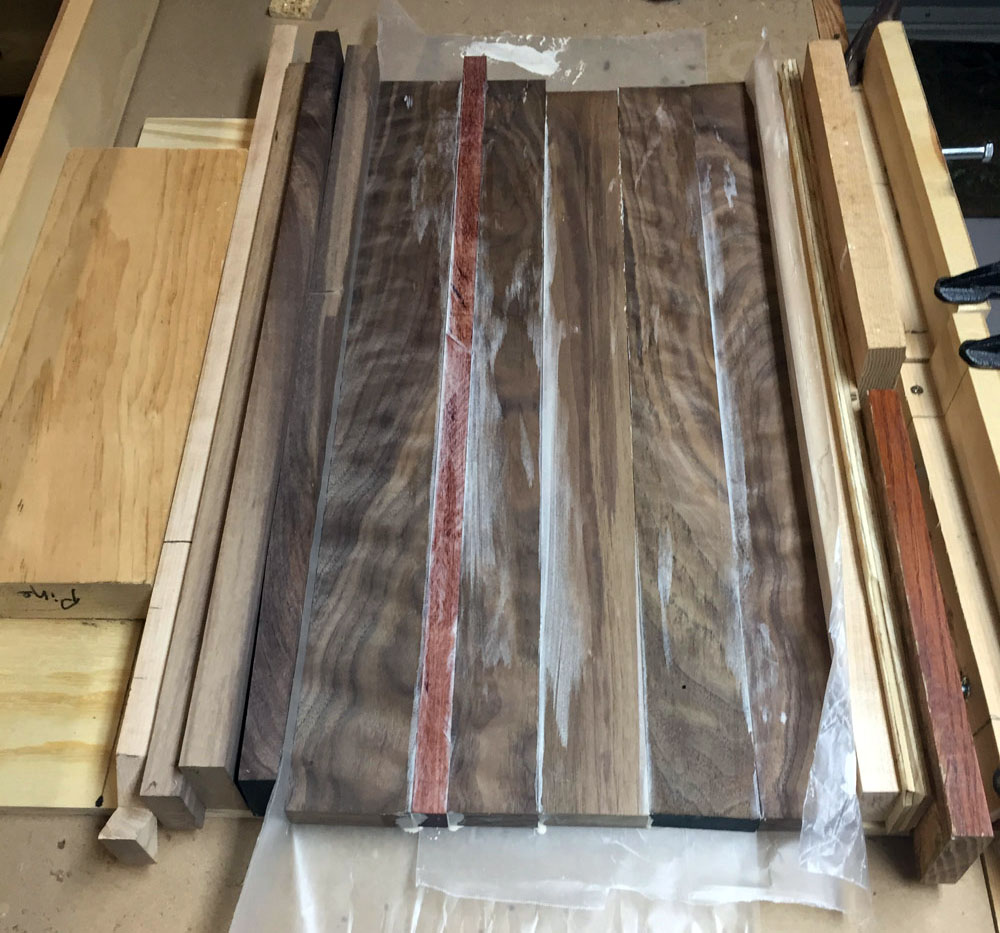
Send these wood constructs through the thickness planer if you have one. If you don’t have a planner, you can use a hand-planer to flatten this out. It may seem insane due to the amount of hands-on time, but once you get going with a decent hand-plane it comes together rather quickly as each piece of wood has a distintive seam/edge for comparison.
This is where the magic starts to happen – you are more or less turning the wood construct 90° every couple of inches. Cut perpendicular to the seams of your glued up wood construct to the desired height of your cutting board. Make sure you allow for about 1/4-1/2 inch excess so you can plane down the final board nice and smooth.
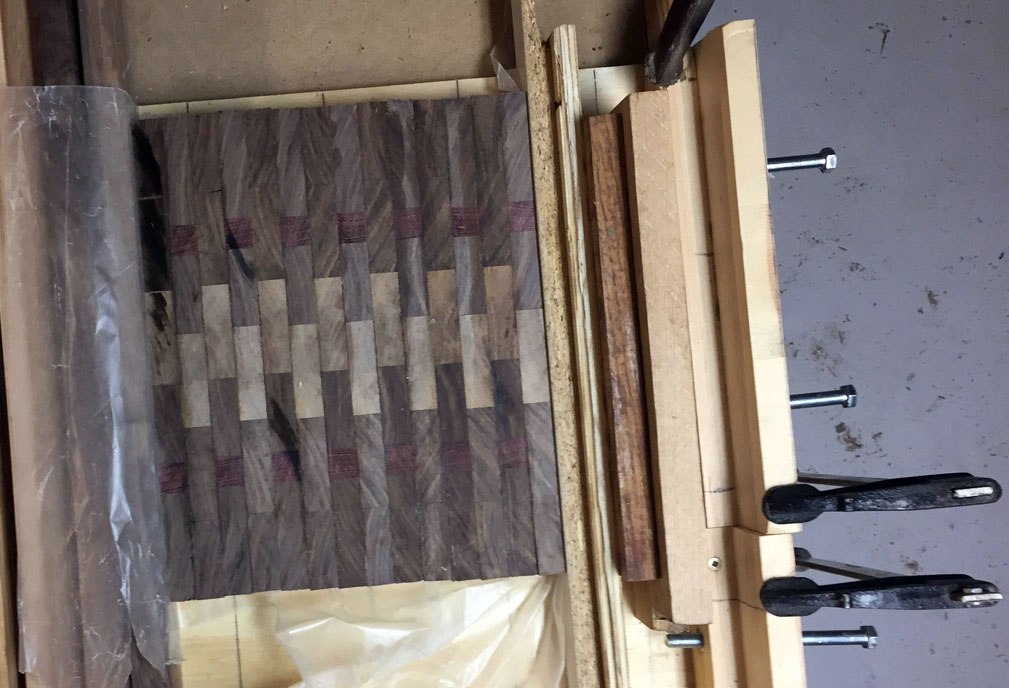
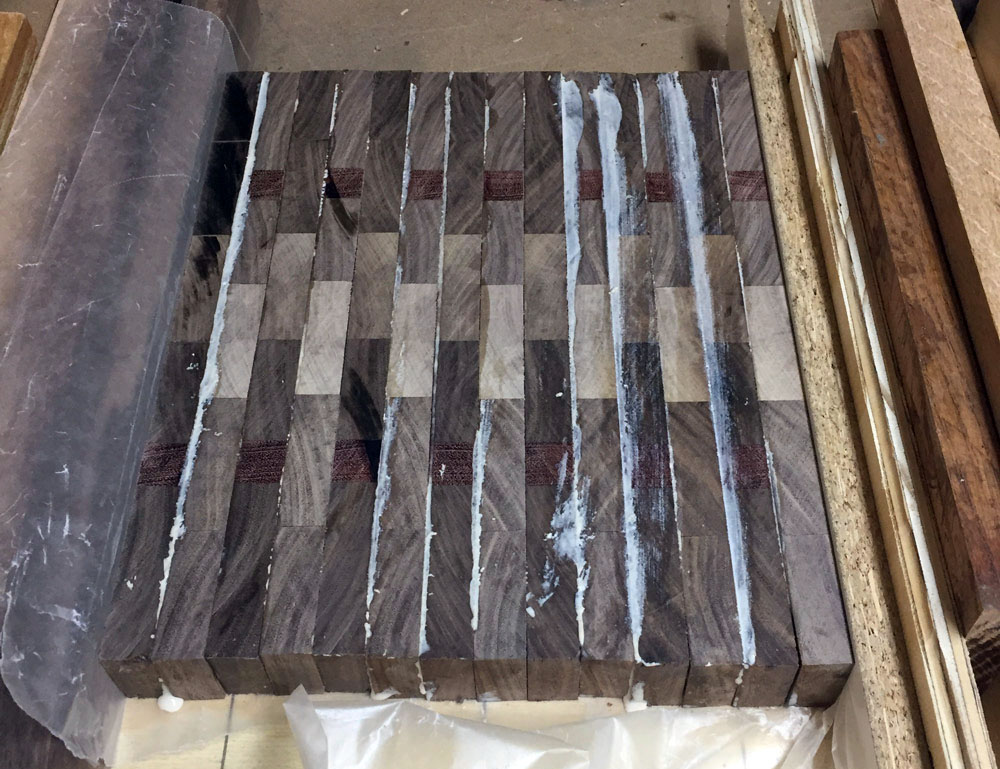
To get a checker board pattern, you can flip every other strip of endgrain 180° to alternate the end-grains (this is where having an odd number of strips pays off). You can also start to created some very complex, even organic, patterns by playing with various widths of end-grain strips. To start with, I reccomend to try to keep your pattern simple.
Once you have a dry-fitted design ready to go, you can glue up the strips of end-grain using bar clamps (or your contraption) and liberal amounts of glue. Ensure these strips are glued together well and are water tight.
Repeat these process as many, or as few, times as you’d like. For basic patterns and designs you can get a way with only a single round of cutting and gluing. For more complex and organic patterns, you will need to repeat this process many times.
No doubt, you will run across a bit of a speed bump when creating anything (no matter how simple). Most of the time it is a great learning opportunity to overcome these obstacles and learn how to avoid them in the future.
One such obstacle came across was making the most out of my planer. For the life of me, when putting wood constructs or the finished cutting boards through my planer I would inevitably end up with snipe. To avoid this, I started gluing blanks/scraps onto either end of the pieces of wood I was passing through the planer.
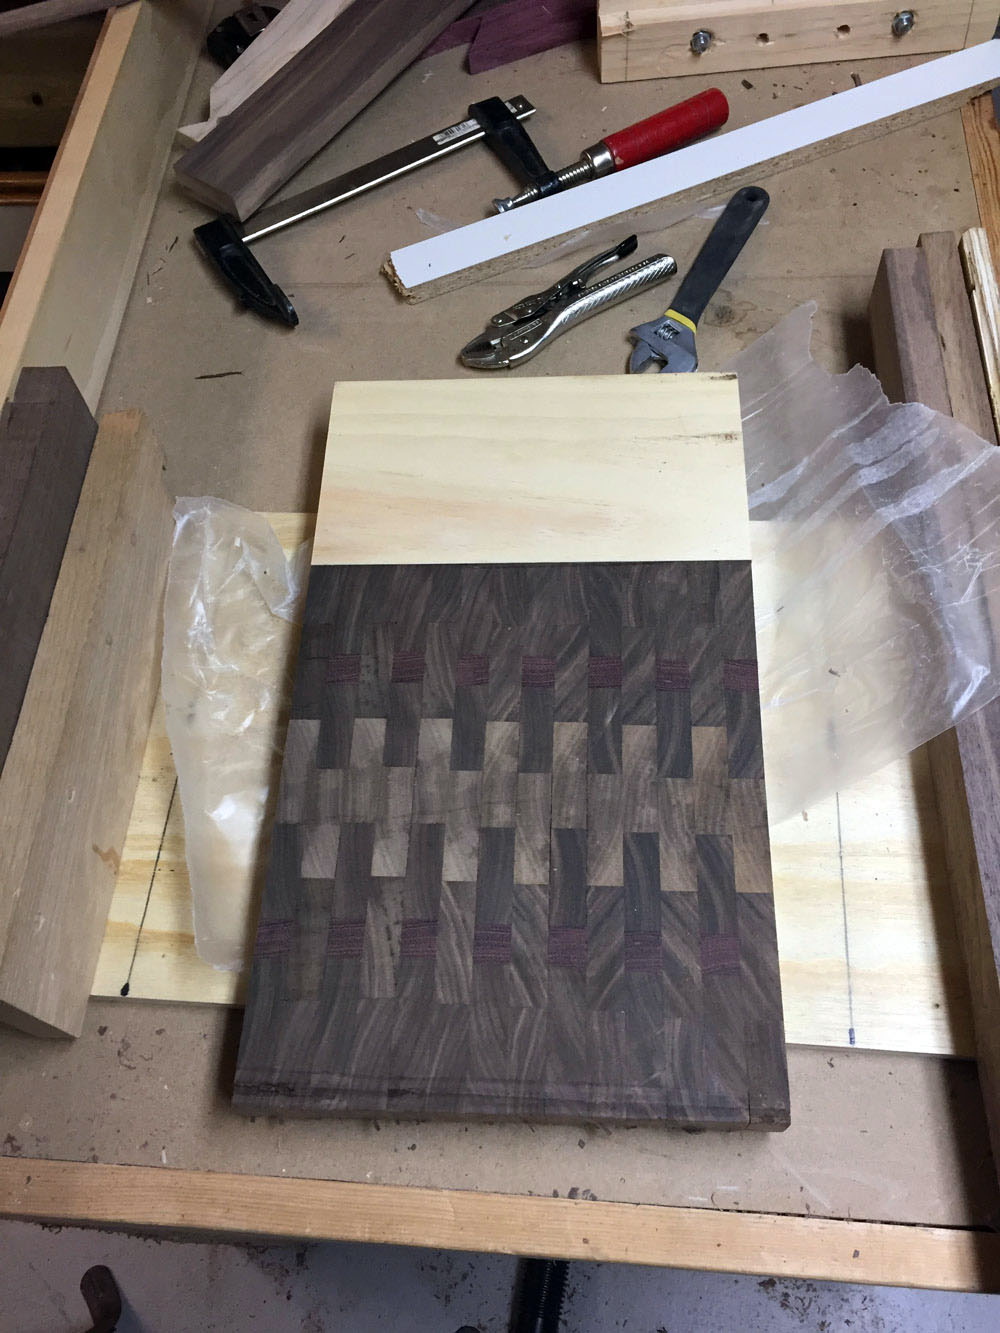
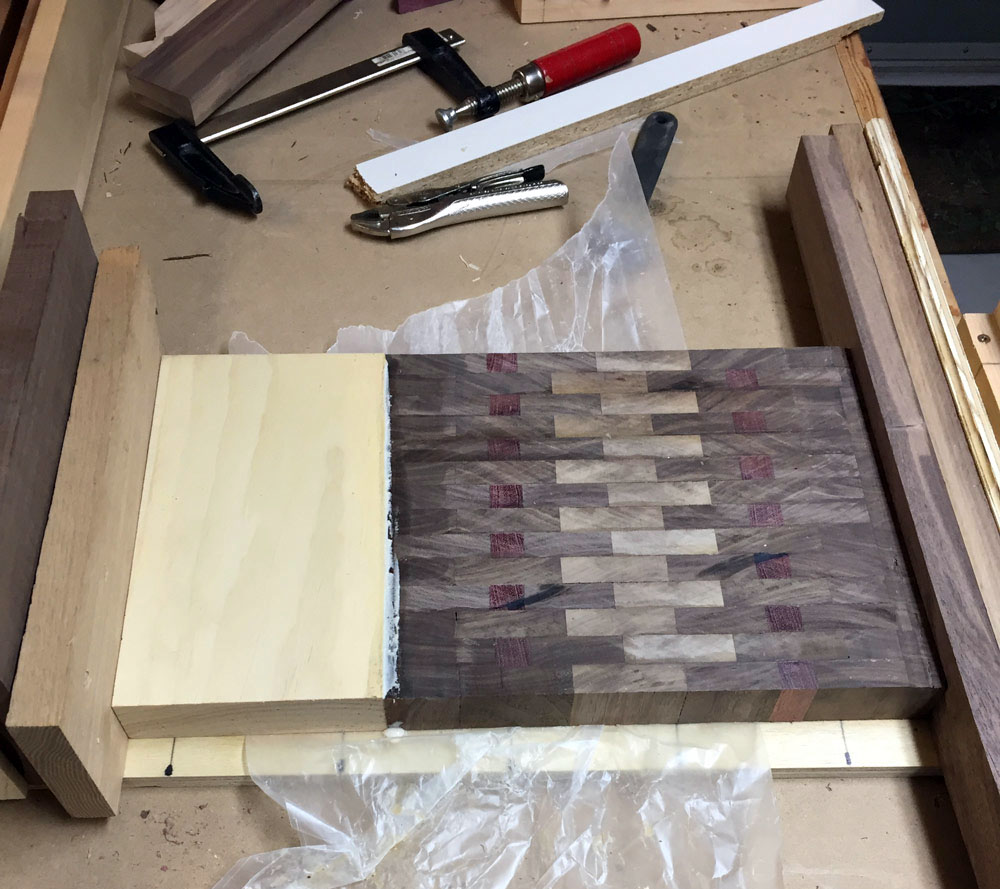
Another such obstacle occured through rather unsafe means. The walnut and purple heart cutting board was rather short and when planing the finished product some kickback occurred. I was lucky and was standing off to the side of the tool (as one always should). But the cutting board went flying backwards into a cement wall. This was huge lesson in safety as I had thought I was always careful with kickback (but apparently I was not).
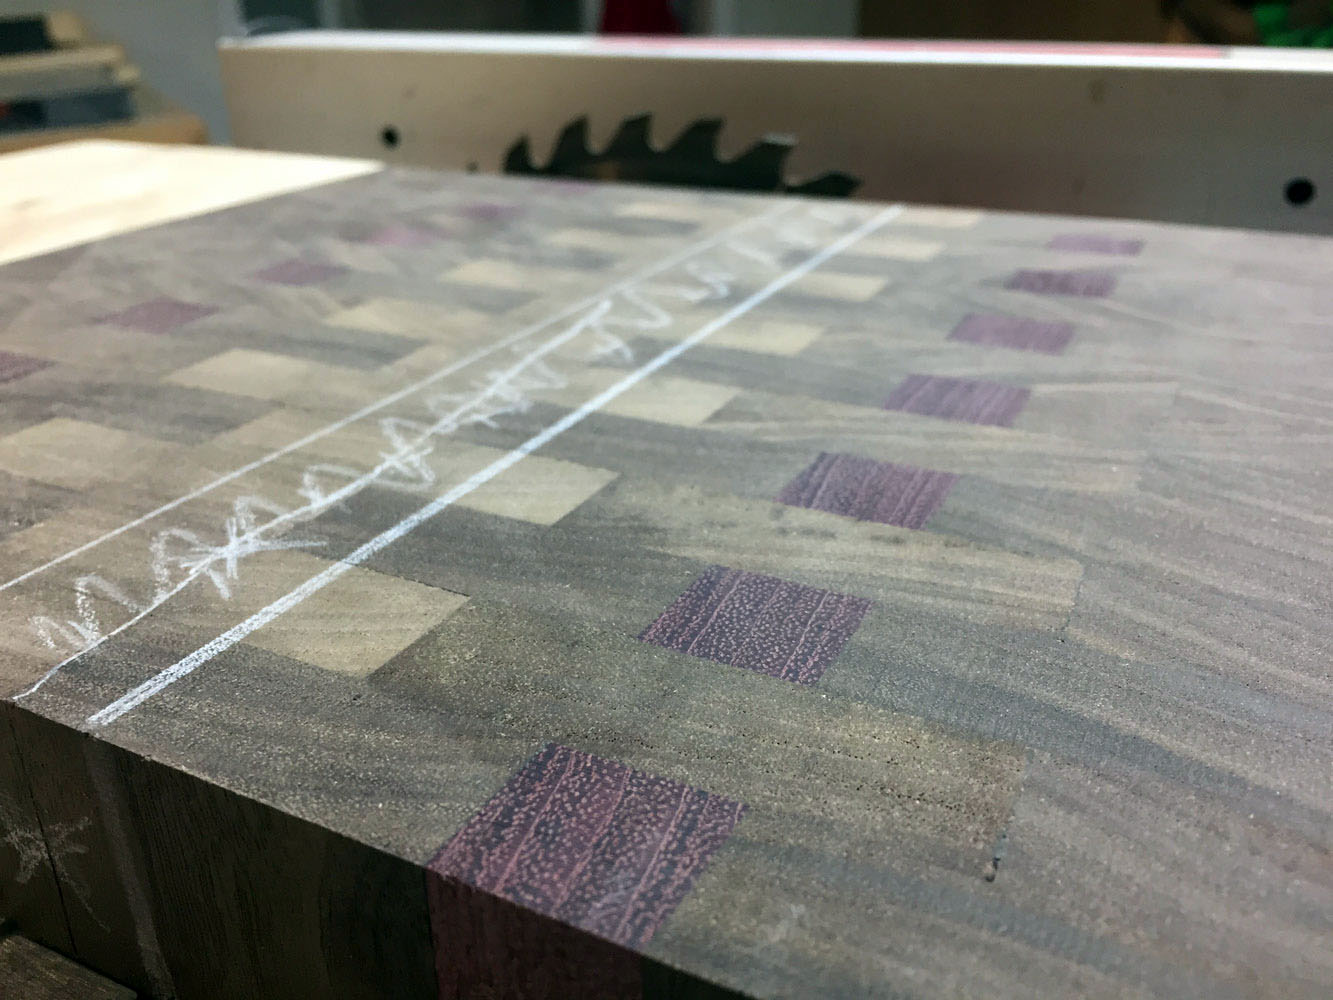
Safe to say the wall won and a large crack was now right down the middle of the board. I ended up cutting out the middle section and creating a new cherry wood core for the cracked section. This cutting board design didn’t go as planned but the end result isn’t too bad at all. I’ll strike this one up to a learning experience to be more careful with the planer.
Once you have your desired design it’s onto finishing. First, you’ll want to smooth out and sand your cutting board to a smooth, almost silky finish. A good rule of thumb is that once you think you are done sanding, you are only about half way. Start of with a low-grit sand paper and work your way up to higher-grits – I started with 120 grit and finished with 800 grit.
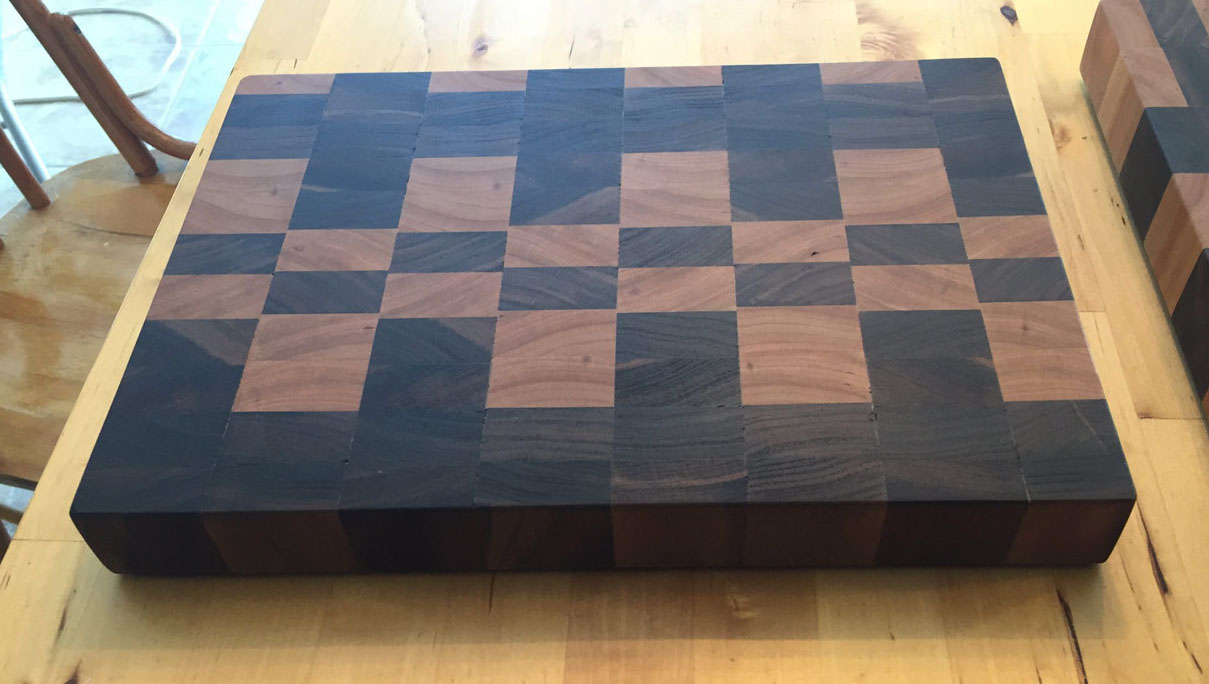
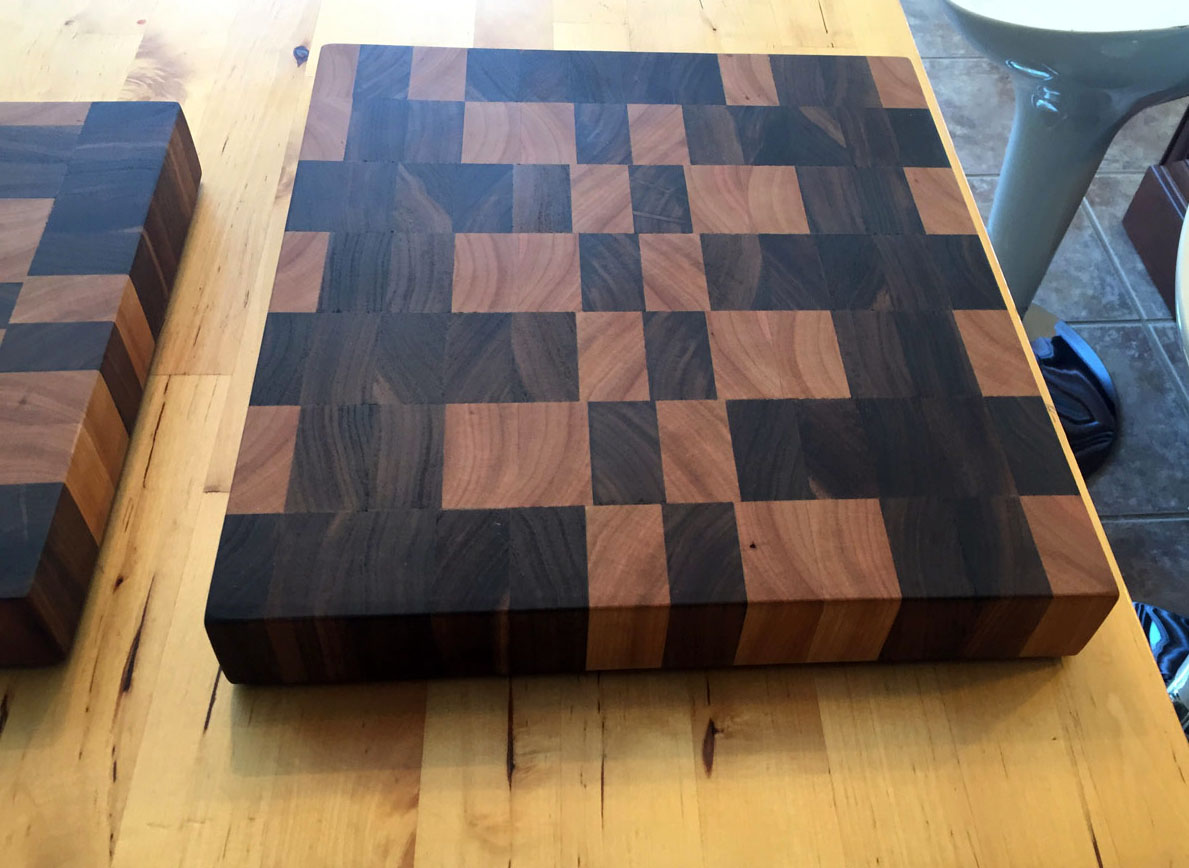
To ensure moisture doens’t become the ultimate demise of your cutting board, you’ll want to treat the board with some oil. There a ton of options available for different types of food grade oils. I opted for a speciality butcher block oil that is 2 parts mineral oil and 1 part beeswax.
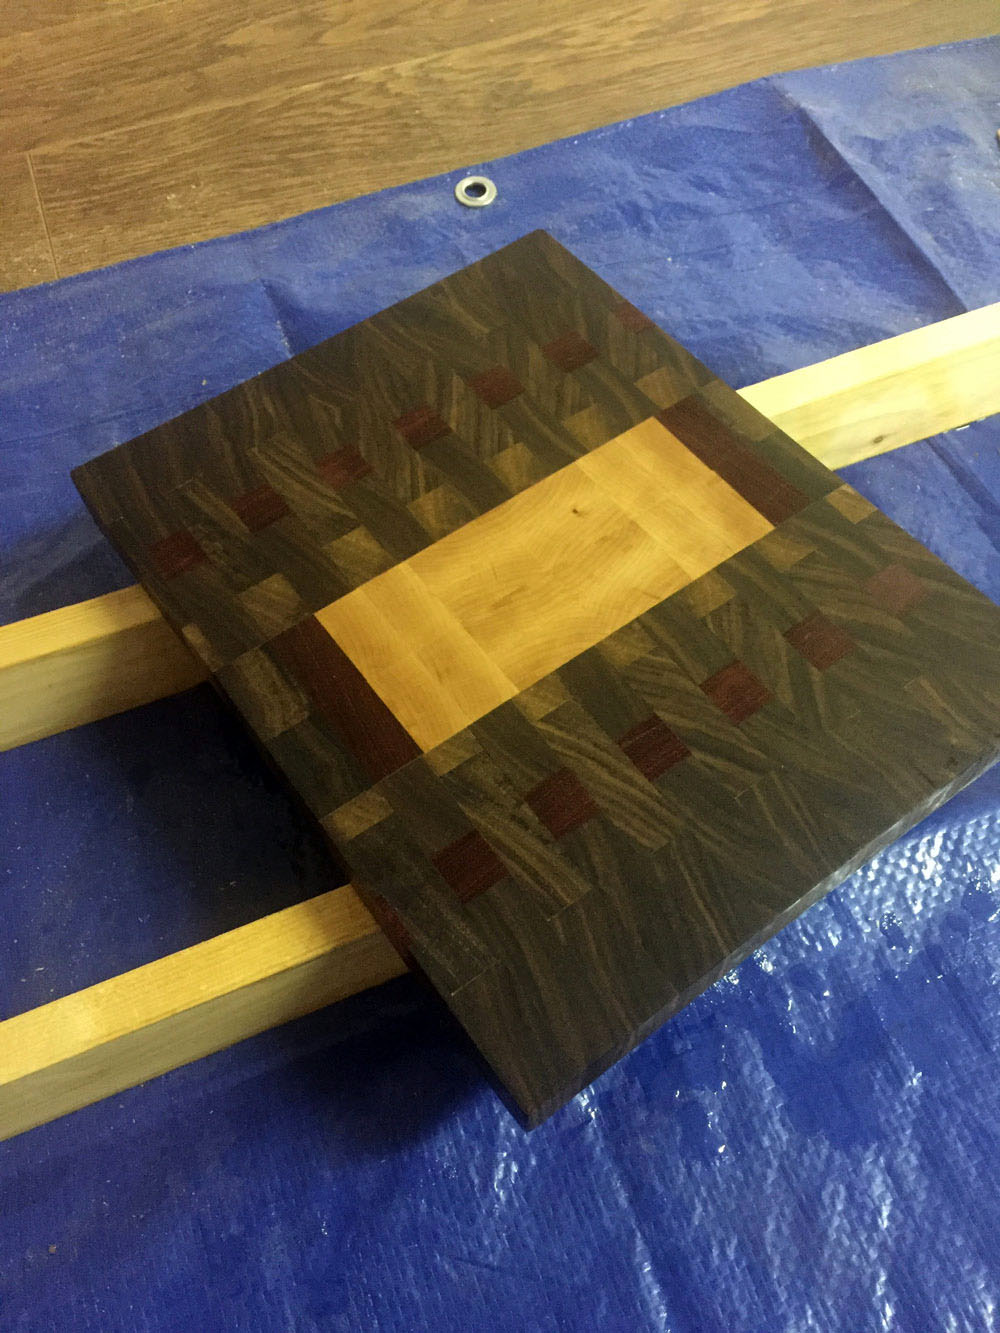
Finally, you can install rubber feet onto the bottom of the cutting board to both lift it from the counter top and to give it some grip to ensure it won’t move around when you are cutting on the board. There are specialized, expensive feet specifically for cutting boards. However, I made use of rubber washers typically found in the plumbing section of your hardware store. They cost pennies in comparison to the specialized feet and acheive the same effect.

Since the initial set of cutting boards, I’ve created two other batches with each subsequent batch turning out better and coming together much quicker than the previous batches. All in all, I am fairly happy with the results and really enjoy taking something raw and unmilled down to a final product.
More Articles